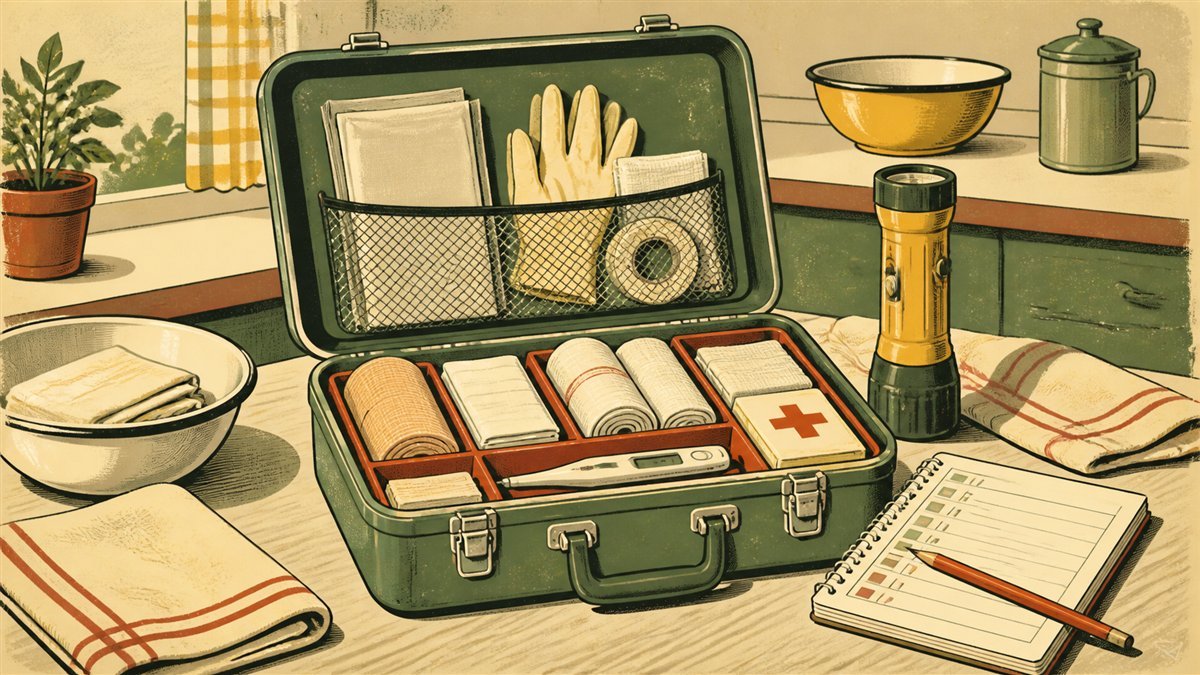
Short answer: start with the supplies on the American Red Cross household first-aid checklist, then add personal medications, a current medication record, and items matched to training you have actually completed. Separate routine first aid from bleeding-control equipment so anyone opening the kit can find the right layer quickly.
Do not judge a kit by its piece count. A useful household kit is familiar, labeled, easy to reach, and maintained. A 300-piece box padded with tiny bandages is less useful than a smaller kit whose contents match your household and skills.
Decide What Belongs Before You Buy
Use this skill-matched filter. It keeps a beginner kit practical without pretending advanced supplies are harmless or self-explanatory.
| Decision | Examples | What to do |
|---|---|---|
| Keep and learn now | Dressings, adhesive bandages, gauze rolls, gloves, tape, thermometer, tweezers, trauma shears, cold pack, emergency blanket, CPR barrier, first-aid instructions | Add these baseline items, read their instructions, and practice locating them. |
| Add with a personal plan | Prescription medicines, condition-specific supplies, epinephrine auto-injector if prescribed, appropriate OTC medicines | Confirm the list, storage, replacement schedule, and emergency actions with the person’s clinician or pharmacist. Keep a current medication record with the kit. |
| Train before relying on it | Commercial tourniquet, wound-packing gauze, hemostatic dressing, pressure dressing | Complete hands-on bleeding-control training and practice with dedicated training equipment. |
| Leave out unless your role and training require it | Sutures, skin staplers, airway adjuncts, decompression needles, other invasive tools | These require assessment and technique beyond a general household first-aid kit. More equipment does not create more capability. |
If your household includes a child, older adult, pregnant person, severe allergy, mobility limitation, diabetes, oxygen use, or another ongoing condition, build the medical layer around that person’s written care plan. The chronic-condition outage guide covers backup equipment and evacuation decisions in more detail.
Layer 1: Routine First Aid
The Red Cross checklist is a sensible minimum for a family kit. Use its current quantities as a starting point, then adjust for household size, activities, pets, travel, and how quickly supplies could be replaced.
Dress and protect:
- Adhesive bandages in useful sizes
- Sterile gauze pads and rolled gauze
- Absorbent compress dressings
- Adhesive cloth tape
- Non-adherent dressings
- Elastic wrap and triangular bandages
- Instant cold compress and emergency blanket
Protect the responder:
- Multiple pairs of correctly sized nonlatex gloves
- CPR breathing barrier with a one-way valve
- Eye protection if it fits your household risk assessment
- Sealable waste bags and hand-cleaning supplies
Basic tools and information:
- Tweezers and trauma shears
- Non-glass thermometer with working batteries
- Headlamp or small flashlight
- Current first-aid instructions
- Emergency, poison-center, clinician, and pharmacy contact information
Johnson & Johnson All-Purpose First Aid Kit (140-piece)
Product example only. Verify current specifications, compatibility, safety instructions, price, and availability before buying.
⚠ Affiliate link — we earn a small commission at no extra cost to you.
A preassembled kit is a starting point, not a finished system. Open it, identify every item, discard anything unsuitable, and add the supplies the household actually needs.
Layer 2: Personal Medicines and Records
Keep a current list of medications, allergies, medical conditions, emergency contacts, and clinician/pharmacy details. The FDA recommends recording each medicine’s name, strength, purpose, and instructions and keeping a copy available in an emergency. Build the refill and storage side with the medication continuity guide.
For OTC medicines, do not copy a universal shopping list. Select products appropriate for the actual household with a pharmacist or clinician, keep them in original packaging, and read the FDA Drug Facts label every time. It identifies the active ingredient, uses, warnings, directions, and storage. Similar brand names and combination products may contain different or overlapping ingredients.
Useful non-drug additions can include oral rehydration product packets, if appropriate for the household, and condition-specific consumables specified in a care plan. Mix and use any rehydration product only as its package directs; serious dehydration or shock requires urgent medical care.
Do not add activated charcoal as a do-it-yourself poisoning treatment. Poison Control advises against using it to treat poisoning at home. In the United States, use webPOISONCONTROL or call 1-800-222-1222; call emergency services for severe symptoms.
Layer 3: Life-Threatening Bleeding Supplies
The safest sequence is people first, equipment second: call emergency services, use appropriate personal protection, and follow current first-aid guidance. The Red Cross guidance for life-threatening external bleeding covers direct pressure, a tourniquet for life-threatening limb bleeding when trained, and wound packing when trained.
After hands-on training, a bleeding-control module may include:
- Extra gloves
- Large dressings and rolled gauze
- A pressure dressing
- A commercially manufactured tourniquet from a reputable source
- Wound-packing or hemostatic gauze appropriate to the course you completed
- Trauma shears and a permanent marker
CAT Tourniquet (Combat Application Tourniquet) — 2-pack
Product example only. Verify current specifications, compatibility, safety instructions, price, and availability before buying.
⚠ Affiliate link — we earn a small commission at no extra cost to you.
If you want the reasoning behind these limits before taking a course, read trauma care basics for preppers. Do not treat chest seals, airway devices, skin staplers, sutures, or other invasive gear as beginner upgrades. Include specialized equipment only when a qualified training program or care plan establishes when and how your intended user should use it.
Optional Monitoring Equipment
A device belongs in the kit only if someone knows what its result means and what action follows.
- A pulse oximeter can estimate oxygen saturation and pulse, but the FDA describes important limitations. Do not rely on one reading instead of symptoms or professional assessment.
- A blood-pressure cuff is useful only when the user can operate it correctly and understands how readings fit the person’s care plan.
- Condition-specific monitors, batteries, test strips, chargers, and backup supplies should follow the patient’s written plan and manufacturer instructions.
Organize the Kit by Urgency
Use clear modules rather than one deep compartment:
- Immediate-response pouch: gloves, large dressing, trained bleeding-control supplies, CPR barrier, and emergency instructions.
- Routine first-aid pouch: bandages, gauze, tape, cold pack, simple tools, and wound-protection supplies.
- Personal-care pouch: labeled medicines, condition-specific supplies, copies of current records, and emergency contacts.
- Tools and replenishment pouch: light, spare batteries, extra gloves, waste bags, and replacement stock.
Label the outside and include a simple contents card. Keep critical equipment in a consistent location. If the household has a separate evacuation kit, duplicate essential records and personal supplies rather than assuming there will be time to repack.
Dental problems can become disruptive quickly when routine care is unavailable. Add only low-risk comfort and protection items from a dentist-approved plan, and keep the dental emergency guide with the medical references.
Inspect and Rotate It
Set a recurring review at least annually and after every use.
- Replace anything used, damaged, contaminated, or past its labeled expiration date.
- Check sterile-package seals, adhesive condition, batteries, and liquid containers.
- Confirm that prescriptions, OTC products, and condition-specific supplies still match the household.
- Update medication lists, contacts, allergies, and care plans whenever they change.
- Check that growing children and changing household members have correctly sized supplies.
- Practice finding the immediate-response pouch without emptying the whole kit.
Do not silently move a kit during reorganization. Everyone who may retrieve it should know its location, and it should remain out of children’s reach while still accessible to responsible adults.
Your Next Three Actions
- Compare your present kit with the Red Cross baseline and list the actual gaps.
- Print or update the household medication and emergency-contact record.
- Enroll in first aid/CPR training and, if adding trauma supplies, a hands-on bleeding-control course.
That sequence produces a more useful kit than buying another assortment of unfamiliar equipment.